Introduction
Generative Refocusing Modern photography has always been limited by a physical constraint: focus must be decided at the moment of capture. Once the shutter clicks, the depth of field is locked forever. But what if focus could be changed after the photo is taken—without special hardware or multi-view cameras?
Generative Refocusing introduces a breakthrough approach that uses deep generative models to synthetically refocus images after capture. Powered by neural rendering and learned depth representations, this technique allows users to dynamically shift focus points and depth-of-field effects from a single image.
This blog explores how Generative Refocusing works, why it matters, and how developers can experiment with the open-source Genfocus implementation.
What Is Generative Refocusing?
Generative Refocusing is an AI-driven computational photography technique that recreates realistic focus changes using neural networks rather than optical lenses.
Instead of relying on:
- Light-field cameras
- Multi-lens systems
- Stereo image capture
this method works from a single RGB image and predicts how the scene would look if the focus plane were changed.
Key Idea
The model learns a continuous depth-aware representation of the scene and uses generative synthesis to simulate optical blur realistically.
Why Generative Refocusing Is Important
Traditional refocusing methods often fail because:
- Depth estimation is inaccurate
- Blur looks artificial or uniform
- Foreground/background separation is noisy
Generative Refocusing solves these by learning blur as a function of depth and context, producing smooth and photorealistic results.
Major Benefits
- 📷 Post-capture focus control
- 🎨 Cinematic depth-of-field effects
- 🧠 AI-learned optical realism
- 📱 No special camera hardware required
- 🎥 Applications in photography, film, and AR
This section walks you through setting up Genfocus on your local machine and running the interactive refocusing demo using Gradio.
Prerequisites
Before you begin, make sure you have:
- Python 3.12
- Conda (Miniconda or Anaconda)
- Git
- CUDA-enabled GPU (recommended for best performance)
- Internet access to download pretrained models
1. Installation
Clone the Repository
Start by cloning the Genfocus repository and navigating into the project directory:
https://github.com/rayray9999/Genfocus
git clone git@github.com:rayray9999/Genfocus.git
cd Genfocus
Create and Activate Conda Environment
Create a clean Python environment to avoid dependency conflicts:
conda create -n Genfocus python=3.12
conda activate Genfocus
Install Dependencies
Install all required Python packages using pip:
pip install -r requirements.txt
This will install core dependencies such as PyTorch, Gradio, and supporting vision libraries.
2. Download Pre-trained Weights
Genfocus relies on multiple pretrained models to generate realistic refocusing effects.
Make sure you are in the Genfocus root directory before running the commands below.
Download Main Models
wget https://huggingface.co/nycu-cplab/Genfocus-Model/resolve/main/bokehNet.safetensors
wget https://huggingface.co/nycu-cplab/Genfocus-Model/resolve/main/deblurNet.safetensors
These models handle:
- Bokeh generation
- Defocus correction
Download Auxiliary Depth Model
mkdir -p checkpoints
cd checkpoints
wget https://huggingface.co/nycu-cplab/Genfocus-Model/resolve/main/checkpoints/depth_pro.pt
cd ..
This depth model enables accurate depth-aware blur synthesis.
3. Run the Gradio Demo
Genfocus provides an interactive Gradio web interface for testing generative refocusing in real time.
Important Note
⚠️ This project uses FLUX.1-dev.
You must request access and authenticate locally before running the demo.
Launch the Demo
python demo.py
Access the Web Interface
Once the server starts, open your browser and navigate to:
http://127.0.0.1:7860
You can now:
- Upload an image
- Select a virtual focus plane
- Adjust refocus parameters
- Generate photorealistic depth-of-field effects
Tips for Best Results
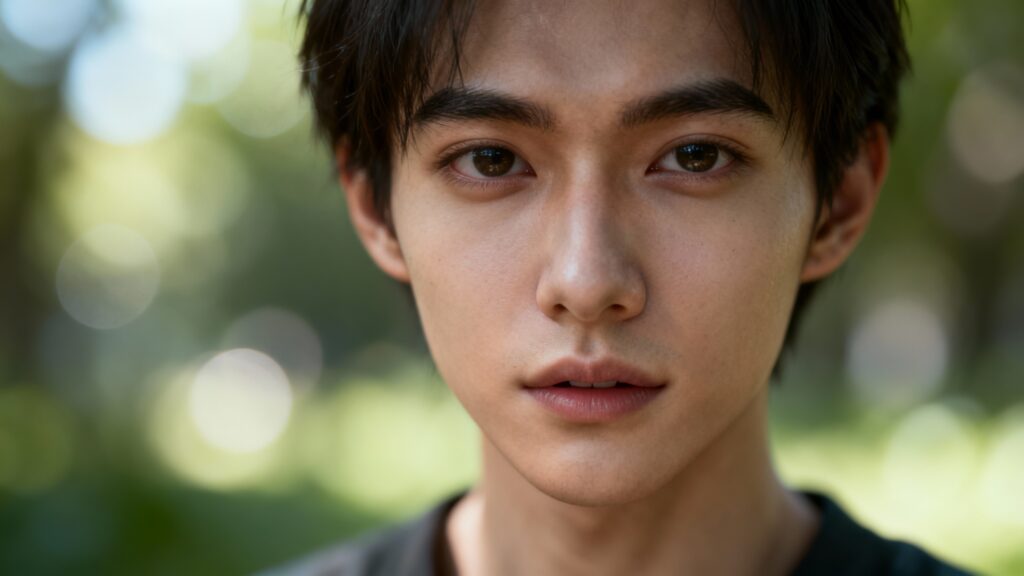
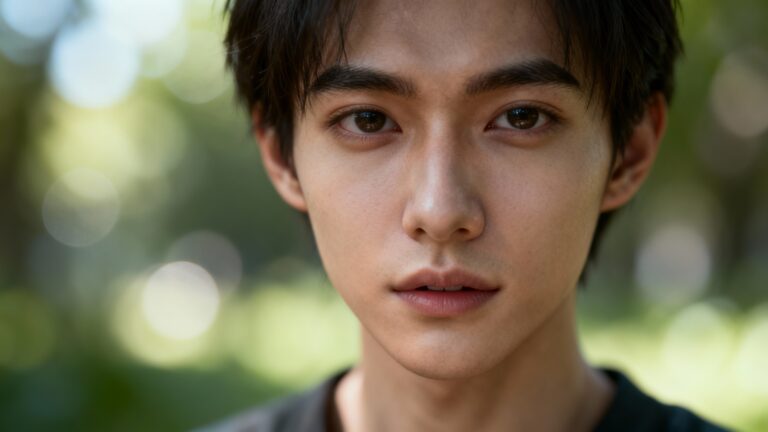
- Use high-resolution images with clear foreground/background separation
- Portrait or object-centric images work best
- Run on GPU for faster inference
- Experiment with different focal depths for cinematic effects
Troubleshooting
- CUDA errors → Verify PyTorch GPU installation
- Model not found → Ensure all
.safetensorsand.ptfiles are in correct directories - FLUX access error → Confirm authentication is completed successfully
Final Thoughts
This tutorial allows developers, researchers, and AI enthusiasts to quickly explore Generative Refocusing without building a pipeline from scratch. With Genfocus, refocusing becomes a post-processing AI capability, unlocking new possibilities in photography, media production, and neural rendering research.
Inside the Genfocus Project
The Genfocus repository provides a research-grade implementation of generative refocusing using deep learning.
Core Components
- Neural Depth Representation – Learns continuous depth instead of hard segmentation
- Generative Blur Synthesis – Produces realistic defocus instead of Gaussian blur
- End-to-End Training Pipeline – Learns refocusing directly from data
- PyTorch-based Architecture – Easy for researchers and developers to extend
What Makes It Unique?
Unlike traditional depth-based refocusing pipelines, Genfocus:
- Avoids explicit depth maps in output
- Preserves fine details like hair and edges
- Produces natural bokeh transitions
How Generative Refocusing Works (High-Level)
- Input Image
A single RGB image is fed into the network. - Latent Scene Encoding
The model encodes scene structure and depth cues into a latent space. - Focus Plane Selection
A virtual focal distance is selected programmatically. - Generative Rendering
The network synthesizes a new image with realistic depth-of-field blur. - Photorealistic Output
The final image appears as if captured with a different lens focus.
Practical Applications
📸 Photography & Mobile Cameras
- Portrait mode enhancement
- Post-shot refocus editing
- DSLR-style bokeh on smartphones
🎬 Film & Media Production
- Cinematic focus pulls in post-production
- Depth-based storytelling effects
🥽 AR / VR & Metaverse
- Depth-aware scene rendering
- Focus simulation for immersive environments
🧪 Research & AI Vision
- Neural rendering experiments
- Scene understanding and depth modeling
Getting Started with Genfocus
If you’re a developer or researcher, Genfocus is a great playground for exploring neural rendering and computational photography.
Requirements (Typical)
- Python
- PyTorch
- CUDA-enabled GPU (recommended)
- Image datasets for training/testing
You can explore the codebase, experiment with pretrained models, and integrate generative refocusing into your own AI pipelines.
Expert Insight: Why This Matters for the Future
Generative Refocusing represents a paradigm shift:
- Cameras no longer define the final image
- AI becomes a virtual lens
- Photography evolves from capture → computation
As neural rendering matures, we’re moving toward a future where focus, lighting, and optics are fully programmable—long after the photo is taken.
Conclusion
Generative Refocusing is more than a visual trick—it’s a glimpse into the future of AI-powered imaging. With projects like Genfocus, developers and researchers can experiment with cutting-edge techniques that blur the line between photography and generation.
If you’re interested in computer vision, neural rendering, or next-generation photography, this is a project worth exploring.