Acknowledgments
This blog post is based on the MODNet project developed by ZHKKKe, which provides a lightweight and efficient solution for image background removal. For more information and to access the source code, visit the official MODNet GitHub repository.
Let’s Start
Removing image backgrounds has become essential in today’s digital landscape, from e-commerce product displays to social media graphics. While numerous tools are available, achieving high precision programmatically can be a challenge. In this guide, we’ll walk you through creating an image background remover using MODNet, a cutting-edge deep learning model designed specifically for human matting tasks.
MODNet, developed by ZHKKKe, excels at extracting people from images while retaining intricate details like hair and edges. Whether you’re a developer looking to implement background removal in your projects or just curious about MODNet, this tutorial will walk you through the steps.
What Is MODNet?
MODNet (Mobile-Optimized Dynamic Network for Human Matting) is a lightweight, real-time, end-to-end neural network that specializes in portrait matting. It helps in separating a person (or subject) from the background, making it perfect for background removal tasks. Unlike traditional methods, MODNet delivers high precision and is optimized to run on mobile devices.
You can find the official GitHub repository for MODNet here: MODNet GitHub.
Requirements to Get Started Image Background Remover
Before we dive into the setup, here are the prerequisites:
- Python 3.6+ ( I am using 3.10)
- PyTorch (for running the MODNet model)
- MODNet pre-trained model from the GitHub repository
- Basic understanding of Python and deep learning
Let’s get started with the setup and implementation.
Step 1: Clone the MODNet GitHub Repository
First, clone the MODNet repository to your local machine. You can do this by running the following command in your terminal:
git clone https://github.com/ZHKKKe/MODNet.git
cd MODNet
This will create a folder called MODNet containing the necessary files.
Step 2: Set Up a Virtual Environment
To avoid dependency issues, it’s a good idea to create a virtual environment. We will use Python 3.10 for this:
py -3.10 -m venv .venv310
Next, activate your virtual environment:
.venv310\Scripts\Activate.ps1  # For Windows PowerShell
.venv310/bin/activate # For macOS/Linux
Step 3: Create requirements.txt and Install Dependencies
Inside the MODNet folder, create a requirements.txt file and paste the following dependencies:
filelock==3.16.1
fsspec==2024.9.0
Jinja2==3.1.4
MarkupSafe==3.0.1
mpmath==1.3.0
networkx==3.4.1
numpy==2.1.2
pillow==11.0.0
sympy==1.13.3
torch==2.4.1
torchvision==0.19.1
typing_extensions==4.12.2
Now, install the dependencies by running:
pip install -r requirements.txt
Step 4: Download the Pre-trained Model
MODNet requires a pre-trained model for inference. Download the model from the following link:
Download MODNet Pre-trained Model
Once downloaded, place the file modnet_photographic_portrait_matting.ckpt inside the MODNet/pretrained/ folder.
Step 5: Update the Inference Script
Create or update the file demo/image_matting/colab/inference.py with the following code:
# inference.py
import os
import sys
import argparse
import numpy as np
from PIL import Image
import torch
import torch.nn as nn
import torch.nn.functional as F
import torchvision.transforms as transforms
from src.models.modnet import MODNet

if __name__ == '__main__':
    parser = argparse.ArgumentParser()
    parser.add_argument('--input-path', type=str, help='path of input images or a single image file')
    parser.add_argument('--output-path', type=str, help='path of output images')
    parser.add_argument('--ckpt-path', type=str, help='path of pre-trained MODNet')
    args = parser.parse_args()

    if not os.path.exists(args.input_path):
        print(f'Cannot find input path: {args.input_path}')
        exit()
    if not os.path.exists(args.output_path):
        print(f'Cannot find output path: {args.output_path}')
        exit()
    if not os.path.exists(args.ckpt_path):
        print(f'Cannot find checkpoint path: {args.ckpt_path}')
        exit()

    ref_size = 512

    im_transform = transforms.Compose(
        [transforms.ToTensor(), transforms.Normalize((0.5, 0.5, 0.5), (0.5, 0.5, 0.5))]
    )

    modnet = MODNet(backbone_pretrained=False)
    modnet = nn.DataParallel(modnet)

    if torch.cuda.is_available():
        modnet = modnet.cuda()
        weights = torch.load(args.ckpt_path)
    else:
        weights = torch.load(args.ckpt_path, map_location=torch.device('cpu'))

    modnet.load_state_dict(weights)
    modnet.eval()

    if os.path.isdir(args.input_path):
        im_names = os.listdir(args.input_path)
    else:
        im_names = [os.path.basename(args.input_path)]

    for im_name in im_names:
        full_path = os.path.join(args.input_path, im_name) if os.path.isdir(args.input_path) else args.input_path
        print(f'Processing image: {full_path}')

        im = Image.open(full_path)
        im = np.asarray(im)
        if len(im.shape) == 2:
            im = im[:, :, None]
        if im.shape[2] == 1:
            im = np.repeat(im, 3, axis=2)
        elif im.shape[2] == 4:
            im = im[:, :, 0:3]

        im = im_transform(Image.fromarray(im))
        im = im[None, :, :, :]

        im_b, im_c, im_h, im_w = im.shape
        if max(im_h, im_w) < ref_size or min(im_h, im_w) > ref_size:
            if im_w >= im_h:
                im_rh = ref_size
                im_rw = int(im_w / im_h * ref_size)
            else:
                im_rw = ref_size
                im_rh = int(im_h / im_w * ref_size)
        else:
            im_rh = im_h
            im_rw = im_w

        im_rw = im_rw - im_rw % 32
        im_rh = im_rh - im_rh % 32
        im = F.interpolate(im, size=(im_rh, im_rw), mode='area')

        _, _, matte = modnet(im.cuda() if torch.cuda.is_available() else im, True)
        matte = F.interpolate(matte, size=(im_h, im_w), mode='area')
        matte = matte[0][0].data.cpu().numpy()

        original_im = np.asarray(Image.open(full_path))
        if original_im.shape[2] == 4:
            original_im = original_im[:, :, :3]

        foreground = np.zeros((original_im.shape[0], original_im.shape[1], 4), dtype=np.uint8)
        foreground[..., :3] = original_im
        foreground[..., 3] = (matte * 255).astype(np.uint8)

        foreground_name = im_name.split('.')[0] + '_foreground.png'
        Image.fromarray(foreground).save(os.path.join(args.output_path, foreground_name), format='PNG')
        print(f'Saved foreground image: {foreground_name}')
Step 6: Organize Your Input and Output Folders
Create two folders inside the MODNet directory:
input(place your target images here)result(this is where the output images will be saved)
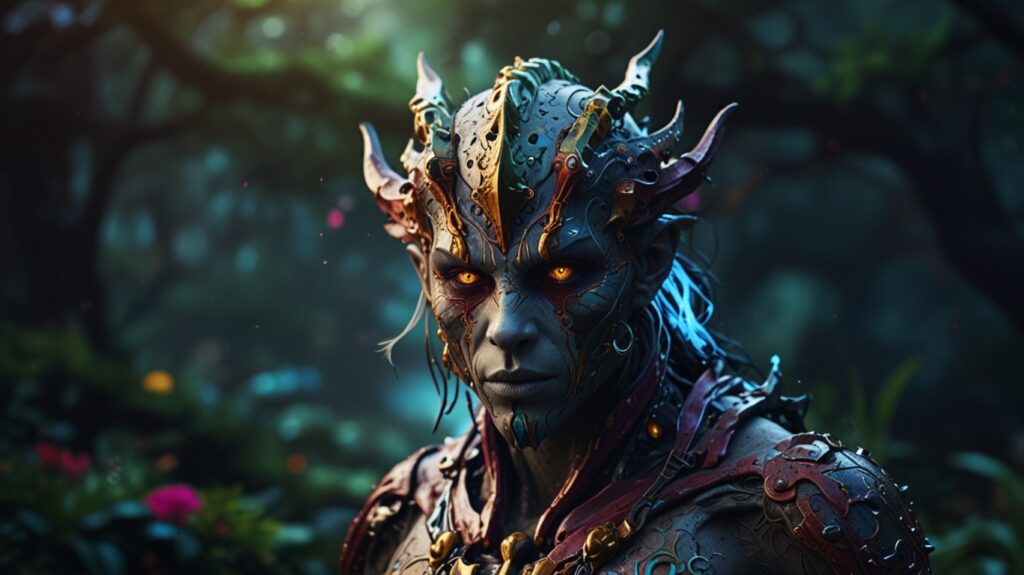
Input Image abc.jpg

Step 7: Run the Script
Now that everything is set up, you can run the script with the following command:
py -m demo.image_matting.colab.inference --input-path "input/abc.jpg" --output-path "result" --ckpt-path "pretrained/modnet_photographic_portrait_matting.ckpt"
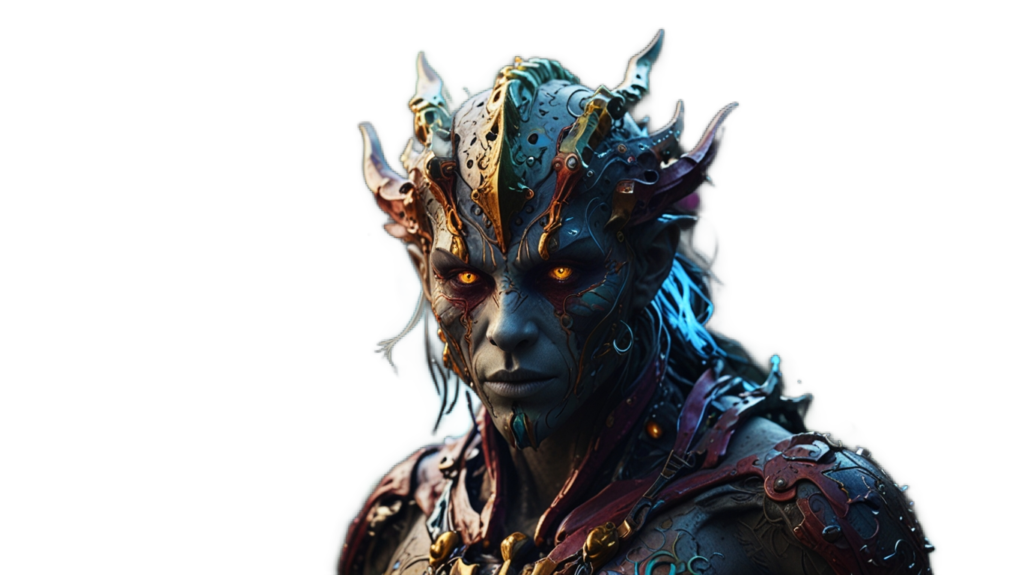
Result Image abc_foreground.png

This will process your input image and save the background-removed image to the result folder.
Into the model instead of processing them one by one.
Command Breakdown
py -m demo.image_matting.colab.inference --input-path "input/abc.jpg" --output-path "result" --ckpt-path "pretrained/modnet_photographic_portrait_matting.ckpt"This option indicates the path to the pre-trained MODNet model checkpoint file. The file modnet_photographic_portrait_matting.ckpt is essential for the inference process, as it contains the learned parameters of the model. The checkpoint file is located in the pretrained directory.
py:
This is the command to invoke the Python interpreter. It is a platform-independent way to run Python scripts.
-m demo.image_matting.colab.inference:
-m: This flag tells Python to run a module as a script.
demo.image_matting.colab.inference: This specifies the module path to the inference.py script. It means you’re running the inference.py file located in the demo/image_matting/colab/ directory of the MODNet project.
--input-path "input/abc.jpg":
This option sets the path to the input image you want to process. In this case, it’s pointing to an image file named abc.jpg located in the input directory. The double quotes are used to encapsulate the path, especially useful if there are spaces in the file name.
--output-path "result":
This option specifies the directory where the output image (the image with the background removed) will be saved. In this case, it points to a folder named result. If this folder does not exist, the script may fail unless it is created beforehand.
--ckpt-path "pretrained/modnet_photographic_portrait_matting.ckpt":
Conclusion
Congratulations! You’ve successfully implemented an image background remover using MODNet. With this powerful tool at your disposal, you can seamlessly integrate background removal into your applications, websites, or mobile apps, enhancing your visual content. If you have any questions or run into issues, feel free to leave a comment below. Stay tuned for more deep learning tutorials, and don’t forget to share this guide with your fellow developers!
For more detailed information, feel free to visit the official MODNet repository on GitHub: MODNet GitHub.
Let us know in the comments if you have any questions or face any issues with MODNet. Stay tuned for more deep learning tutorials!
License
This blog is based on the MODNet project, which is licensed under the Apache License 2.0. You can find the full license text here.
Key Points of Apache License 2.0:
- You are free to use, modify, and distribute the code as long as you include a copy of the license in any distribution.
- You must provide proper attribution to the original authors of the MODNet project.
- There are no warranties for the software, meaning you use it at your own risk.
Adding this section will give readers clarity on the usage rights and responsibilities regarding the code and concepts discussed in your blog.
Call to Action:
Liked this tutorial? Don’t forget to share it with your developer friends and explore more on our blog!


